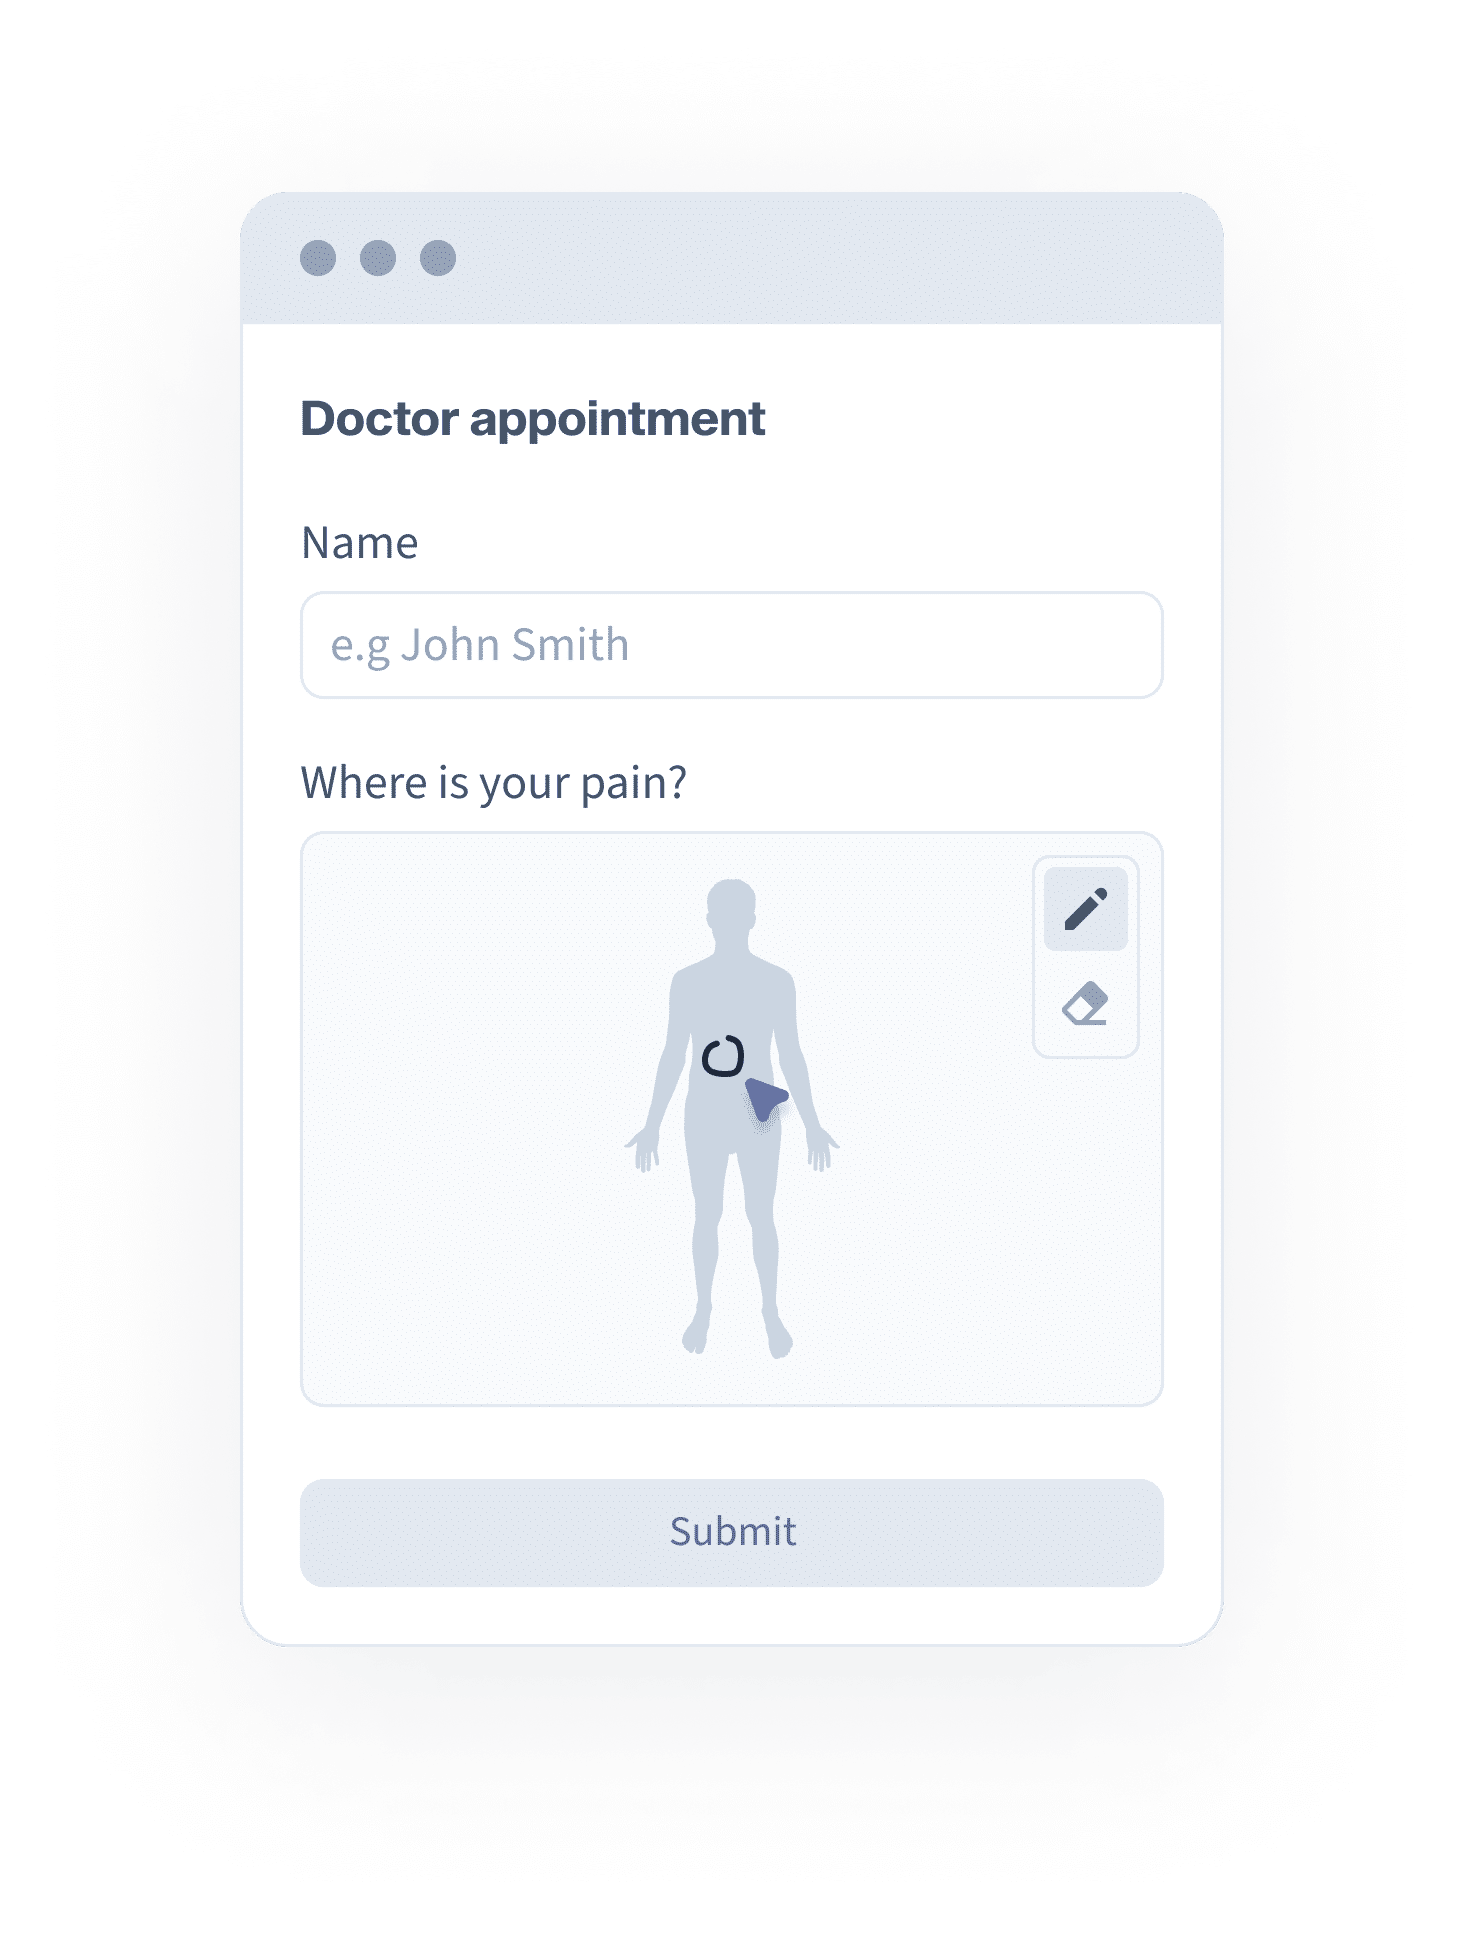
Let users draw on top of an image to indicate their answers such as the location of pain on an image of a body.
Start your free trialThe Draw on Image field lets you add an image to your form that your users can draw or sketch on. The form is submitted with the image updated with what your users drew.
Have an image that you want users to update? Or a sketchpad that you want form users to draw on? Are you a medical professional and want your form users to indicate on an image what needs your attention? The Draw on Image field is what you’re looking for.
Create all-in-one online forms that let you automatically accept bookings and appointments, take payments, collect signatures, AND share images that your users can edit.
Draw on Image
Let users draw on top of an image to indicate their answers such as the location of pain on an image of a body.
Bookings & Appointments
Take bookings that sync with your calendars while letting customers self-schedule and even pay for appointments.
Accept Payments
Use our platform to take payments directly or integrate with your existing payment provider such as Stripe, Paypal, PinPayments, eWay, Commbank BPoint, NAB Transact and more.
Online Signatures
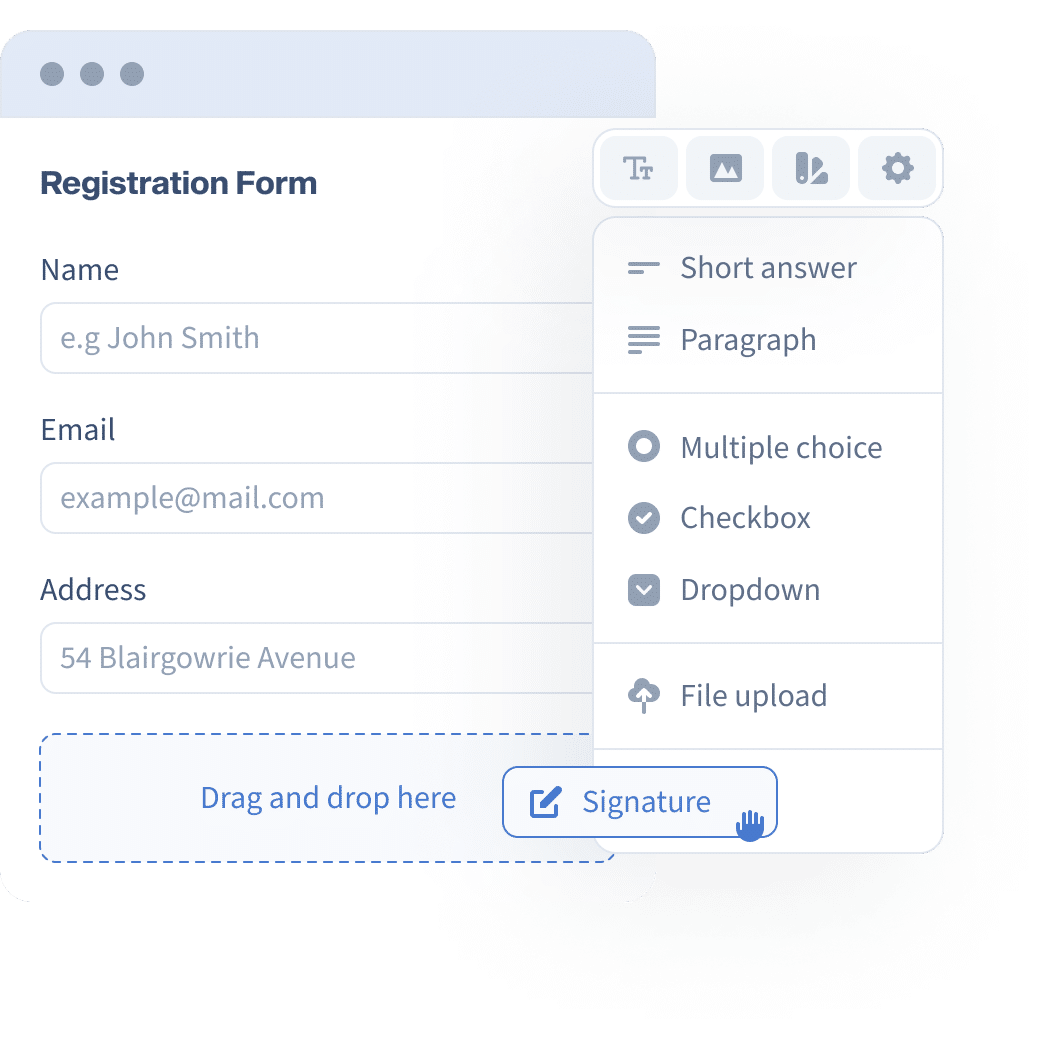
Allow form users to sign electronically using their mouse or finger to gather signatures for consent, payments, contracts and more.

Learn more about using Snapforms at our Guides & FAQs.
Form Builder
Data Collection
Notifications and Workflows
Field Types
Integrations