Make (formerly Integromat) setup
Why connect Snapforms to Make?
Make (formerly Integromat) lets you design, build, and automate anything – from tasks and workflows to apps and systems – in a few clicks.
Using the Snapforms + Make integration you can securely and automatically pass your form response data or trigger an action on any of the services available on Make and trigger various actions based on your needs.
Some of these include:
-
Google Sheets
- Airtable
- Gmail
- Slack
- Google Drive
- Discord
- Google Calendar
- Hubspot
- Monday
- ClickUp
- Google Docs
- Mailchimp
- Pipedrive
- Trello
- Salesforce
- Asana
- And many more
How to connect Snapforms to Make
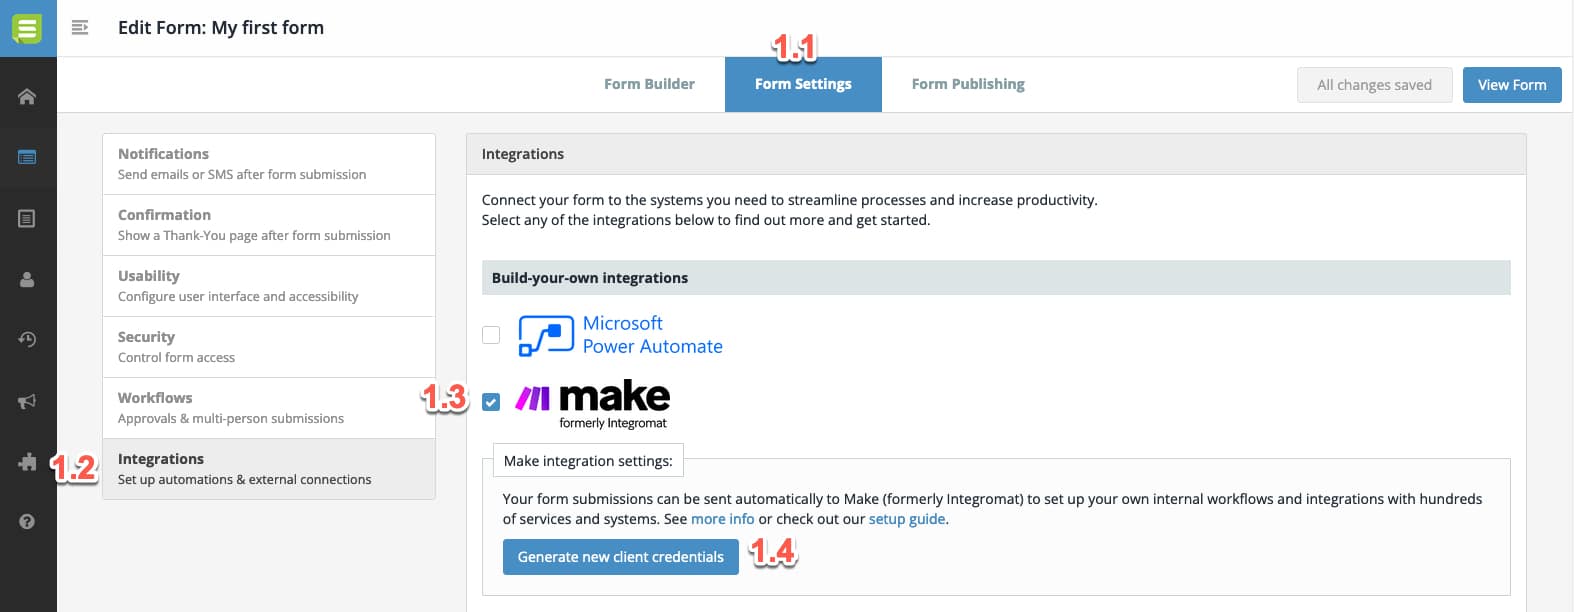
1. Before you can use Snapforms with Make you need to activate the integration on your Snapforms account. Follow the steps below to activate.
1.1. Edit any of your forms and visit the ‘Form Settings’ tab.
1.2. Click the ‘Integrations’ tab.
1.3. Tick to enable the ‘Make’ integration.
1.4. Click ‘Generate new client credentials’ to generate the credentials you need to proceed.
You’ll be provided a Client ID and Client secret. Please save these details for the next steps. They will only appear once.
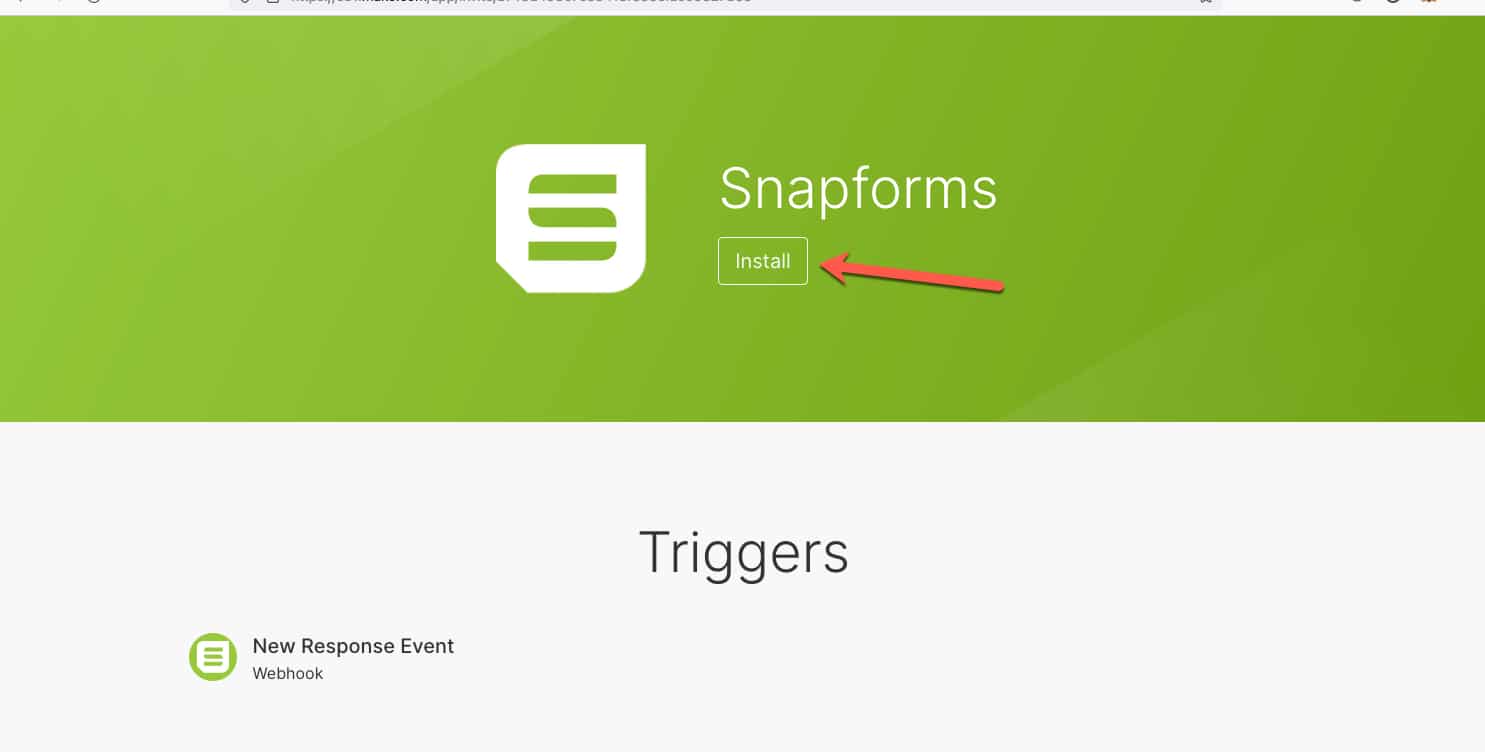
2. Have your Make administrator sign in to your organisations Make account then visit the Snapforms Make connector invitation link:
https://www.make.com/en/hq/app-invitation/b743d49807c33418f536efac09827b56
Then click Install to install the Snapforms app in your Make account.
Once installed in your account you can now use the Snapforms integration within Make.
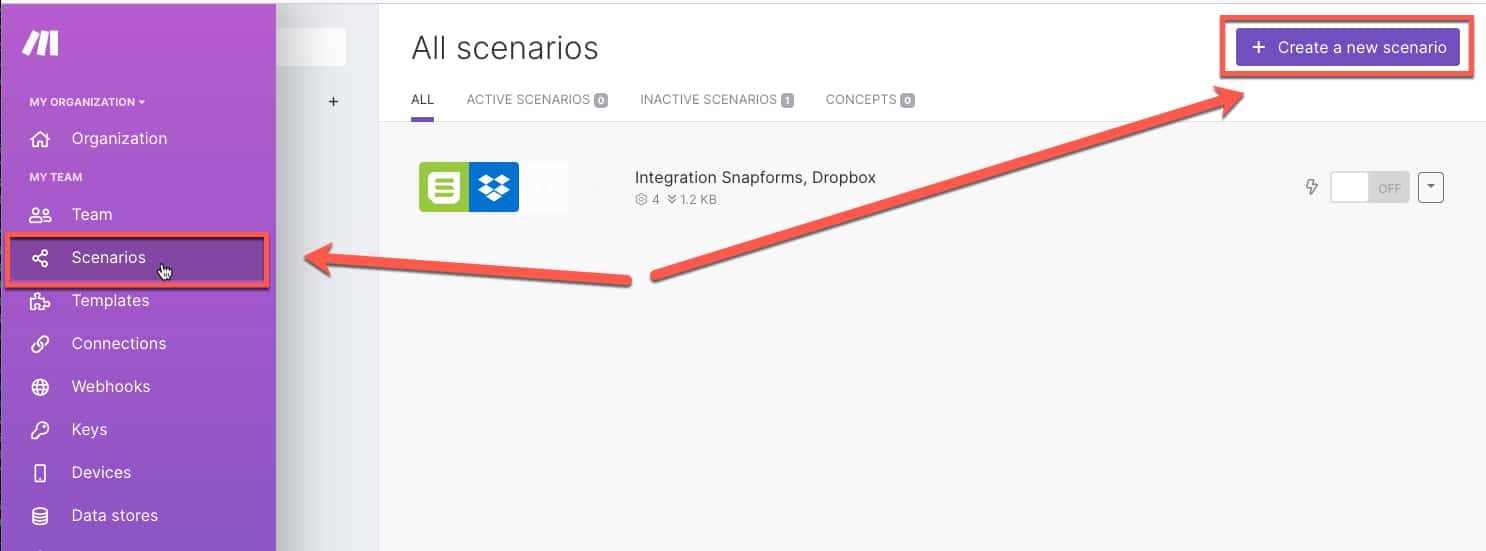
4. To create a new automation in Make, click Scenarios > Create New Scenario.
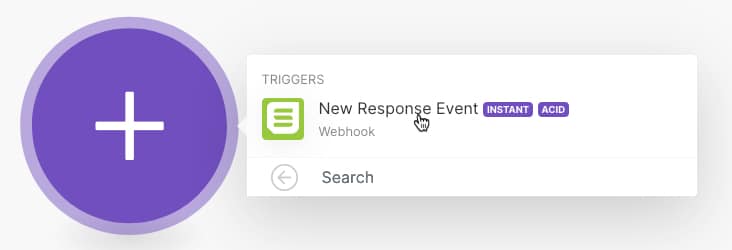
5. Click the + icon to add a first Module and select Snapforms from the list.

6. Select New Response Event as the trigger.
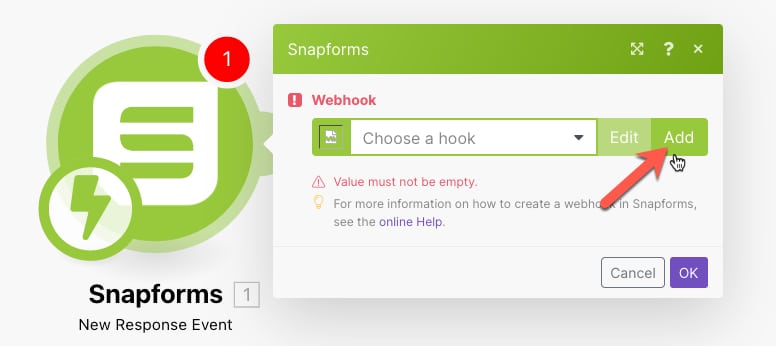
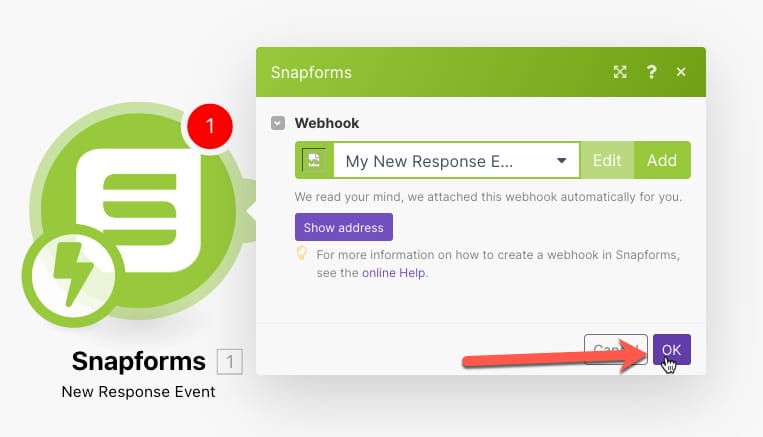
7. Click Add to add a new webhook if it is your first time. You can alternatively choose an existing webhook if you already have one.
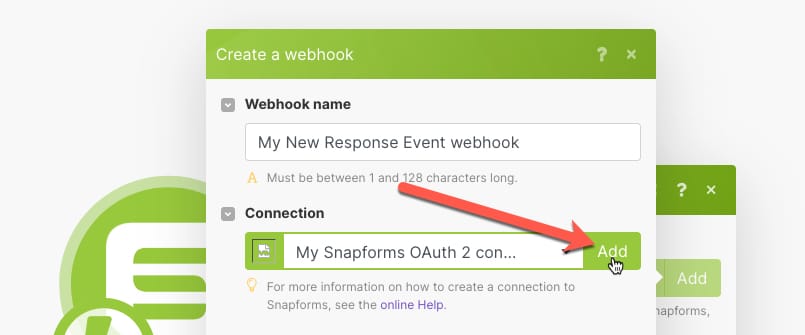
8. Click Add to add a new connection. You can alternatively choose an existing connection if you already have one.
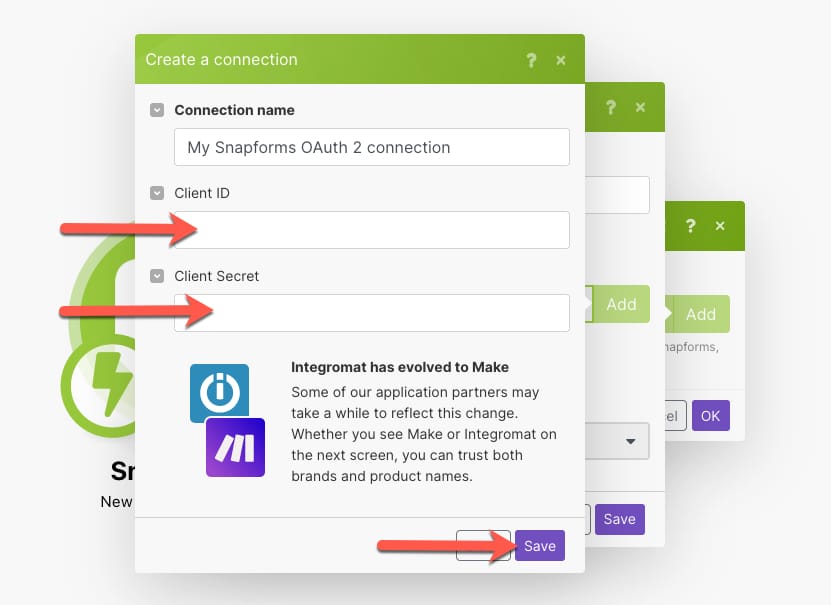
9. Enter the Client ID and Client Secret provided to you by Snapforms in step 1, then click Save.
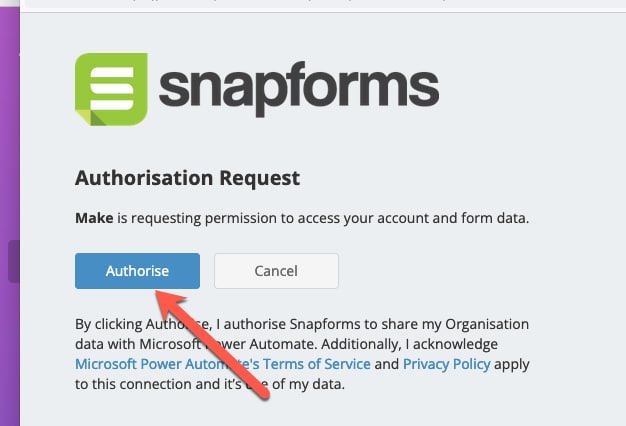
10. You may need to log in to your Snapforms account, then you’ll be prompted to authorise Make to get access to your form data. Click Authorise if you wish to proceed.
11. Choose the form you want to set up with this Scenario from the Forms drop down, then click Save.

12. Click OK to save everything and complete the Snapforms trigger for this scenario.
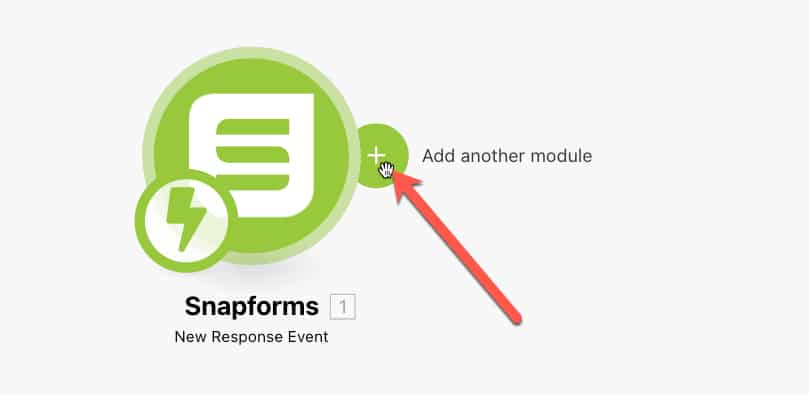
Add another Module
Now you can add modules from other systems which define what you wish to take place when a form response is submitted.
Make allows for thousands of different actions across hundreds of systems. You can choose to connect your form data with any of these actions.
To view specific documentation for any of the other services available on Make please check their documentation here.
This example is a basic action that will give an overview on using the Snapforms module as a trigger and dynamically using form answers within an action in another module.
Example: Send an email containing data from your form response
In this example we want to send an email from Gmail containing some of the information from our form response.
This example assumes you have already completed steps 1-12 above.
13. Click the + symbol then Add another module.
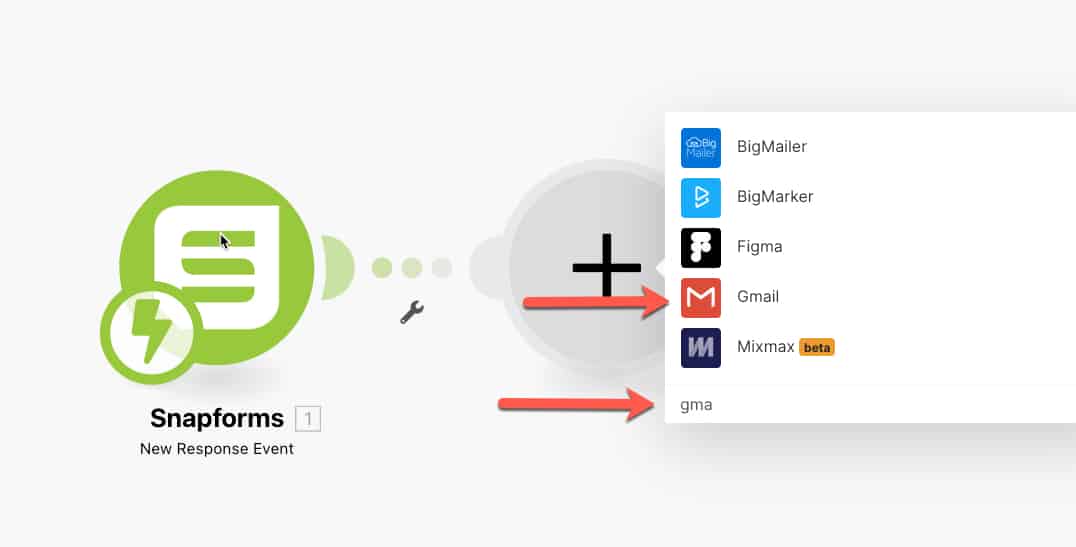
14. Search for Gmail and click the Gmail service.
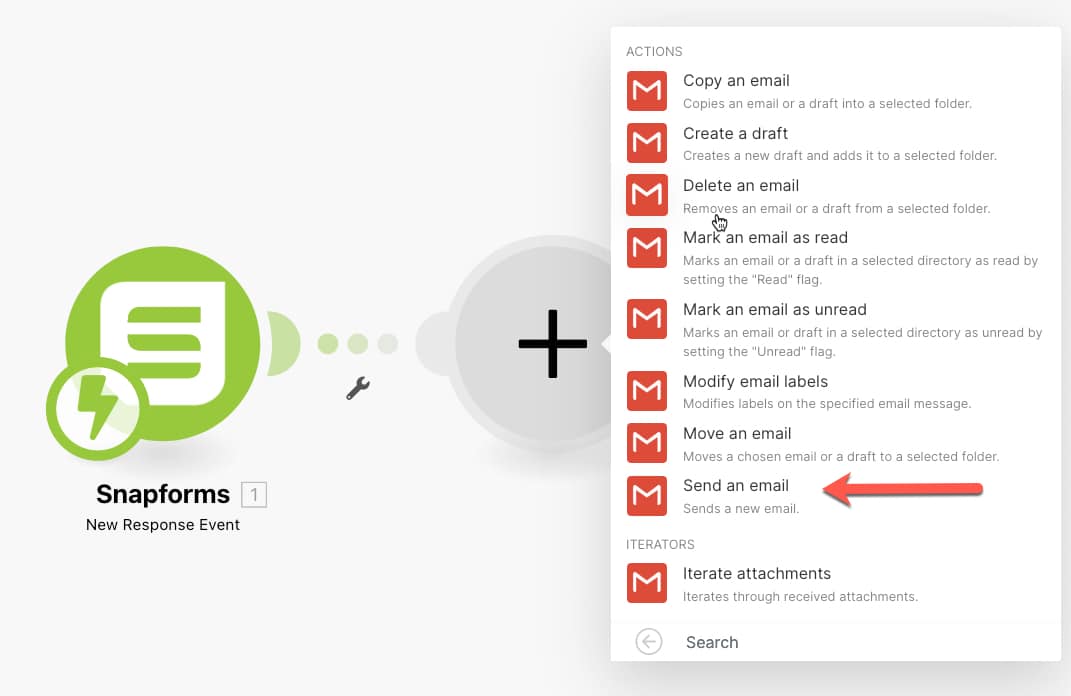
15. Select your required action. In our case we want to Send an email.
16. Choose an existing Connection to Gmail or click Add to authorise a new one, then fill in the email To, Subject and Content fields.
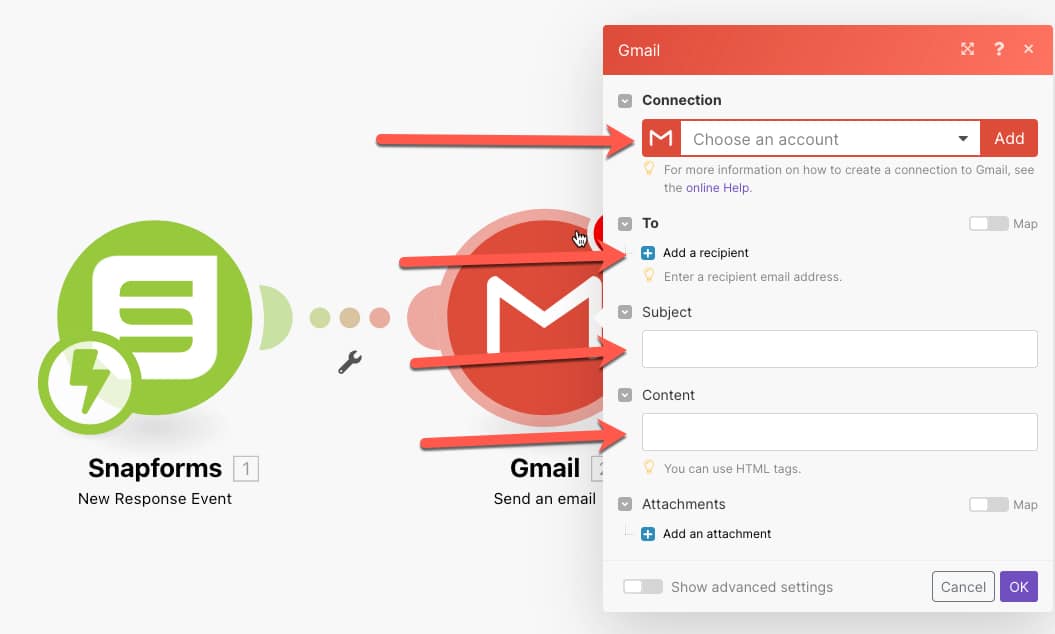
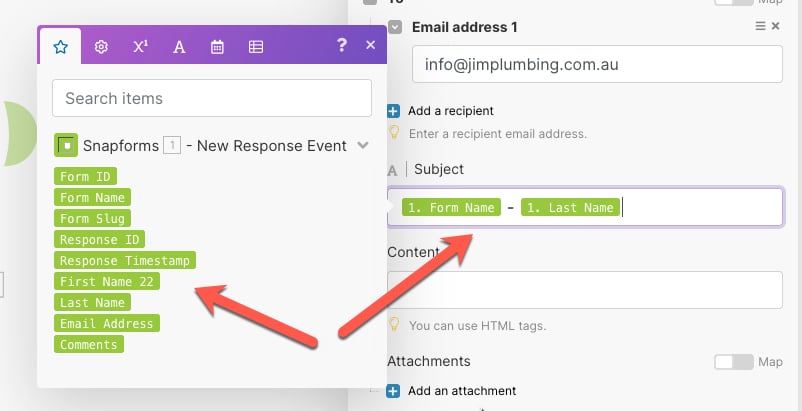
17. While setting up your email details, you’ll have access to include answers from your form response.
12. Click OK to complete the setup.
Each time your form is submitted, Gmail should now send an email containing the details you set up.
Notes and FAQs:
File Uploads:
File Upload fields can contain multiple files in the same field answer. The file upload field will be shown twice in the fields list so you can choose how you want to work with this field in your scenarios.
The field labelled ‘(Text)’ will output your files or file URLs in text format, separated by a comma.
The field labelled ‘(Do for each)’ will allow you to do a separate Action for each file uploaded to that field.
If you are unsure – please use the ‘(Text)’ version.
More examples
The above email example is a great way to show the basics of using your form fields with other systems in your scenario.
Here are some more examples of specific systems you can integrate with or commonly-used functionality which can be applied to many different systems.