Adding URL links to your form
When creating your online form, you may want your form users to view and download a webpage, document, or file that is:
- part of a consent statement, such as agreeing to your Terms & Conditions or Privacy Policy (see Single Checkbox field)
- part of your form’s introduction or instructions (see Formatted Text field)
- not publicly available or accessible to external form users.
URL links can also be added to email notifications.
Inserting a URL link
To insert a link (into a supported field or email notification):
- Highlight the text where you want to insert the link.
- In the toolbar, click the link icon.

- Copy the URL link from the relevant website, or file saved in Snapforms (see below).
- Paste in the URL.

- Click the Open in New Tab checkbox. This will open the document in a separate browser tab when the link is clicked.
- Click Save & Close.
- Save and view your form.


Sharing non-public files
Uploading files to Snapforms allows you to easily share non-public files with form users that are not permitted to access your Snapforms account.
To upload and share a file in Snapforms:
- In the main menu, select Files.
- Click Upload File.
- Drag & drop the file, or click the screen to locate your file using the file browser.
- Click Save.
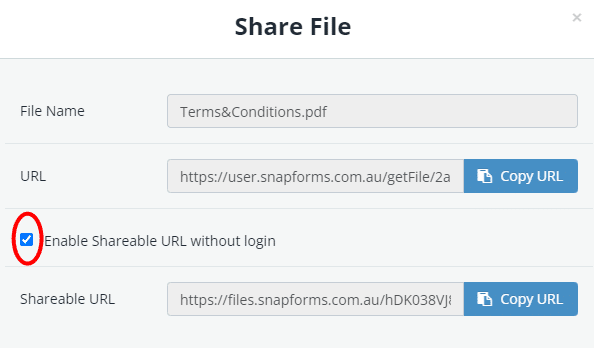
- Click Actions > Share.

- To share with Snapforms users, click Copy URL.
- To share with external form users, select the Enable Shareable URL without login checkbox.

- Click Copy URL on the shareable URL.
- Refer to the above section for steps on how to insert the URL into your form field or email notification.

Organising your files
To set up categories, departments, and locations:
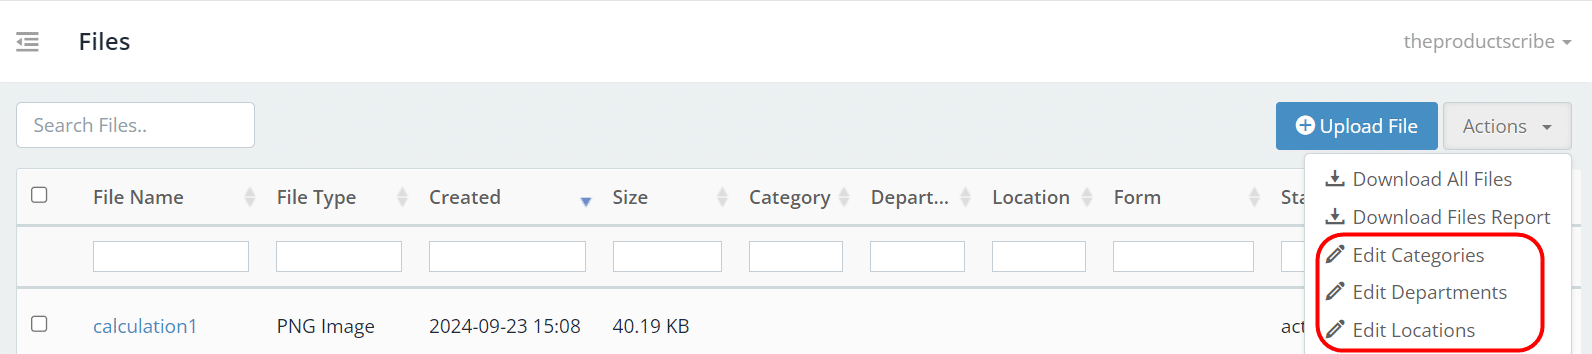
- In the top right corner, click Actions.
- Select Edit Categories, Edit Departments, or Edit Locations.

- Enter the Category/Department/Location name.
- Click Add.
To update file properties:
- On the right-hand side of the file name, click Actions.
- Click View/Edit Details.
- Edit the fields as needed.
- Click Save or Cancel if no changes were made.

